Content-Type And MIME Type
名詞解釋
當我們在說 Content-Type 跟 MIME Type 或是 Media Type 的時候,其實通常都是在說同一件事情,差別在於:
-
Content-Type 是一個 HTTP Header,其值就是 MIME Type
-
MIME Type 是比較早期的說法,後改為 Media Type,但兩個其實大家都聽得懂
Content-Type 的作用
Content-Type 可以做為 HTTP Request Header 跟 HTTP Response Header,其實它指的就是 body 區塊的內容類型
Web Develop 比較常見的 MIME Type
Web Develop 比較常見的 MIME Type 有以下
- HTML: text/html
- CSS: text/css
- JSON: application/json
- JavaScript: text/javascript
- JPEG: image/jpeg
- SVG: image/svg+xml
要注意,JavaScript 有很多老舊的 MIME Type,詳細可以參考 MDN官方文件
我們接著深入一些比較特殊的 Content-Type
multipart/formdata
複雜的 HTML FORM 表單,通常會使用這個 Content-Type,我們試著創建一個 index.html,裡面包含個人資料填寫的 HTML FORM 表單
<!DOCTYPE html>
<html>
  <head></head>
  <body>
    <main>
      <form name="updateUser" method="post" action="/updateUser" enctype="multipart/form-data">
        <div>
          <label for="username">username</label>
          <input id="username" name="username" />
        </div>
        <div>
          <label for="age">age</label>
          <input id="age" name="age" type="number" />
        </div>
        <div>
          <label for="photo">photo</label>
          <input name="photo" type="file" />
        </div>
        <div>
          <input type="submit" value="送出" />
        </div>
      </form>
    </main>
  </body>
</html>
接著我們使用 NodeJS HTTP 模組來設置一個簡易的 HTTP Server 來處理頁面的渲染跟 API 路由
import { readFileSync } from "fs";
import { join } from "path";
import httpServer from "../httpServer";
import { faviconListener } from "../listeners/faviconListener";
import { notFoundListener } from "../listeners/notFoundlistener";

const indexHTML = readFileSync(join(__dirname, 'index.html'));

httpServer.on('request', function requestListener (req, res) {
  const method = String(req.method).toLowerCase();

  if (req.url === "/") {
    res.setHeader("Content-Type", "text/html; charset=utf-8");
    res.end(indexHTML);
    return;
  }
  if (req.url === "/updateUser" && method === "post") {
    const chunks: Buffer[] = [];
    req.on('data', (chunk) => (chunks.push(chunk)));
    req.once('end', () => {
      const buffer = Buffer.concat(chunks);
      // binary 圖片轉成 utf8 字串會造成效能低落
      // const utf8String = buffer.toString('utf8');
      console.log(buffer);
      res.setHeader("Content-Type", "application/json");
      res.end(JSON.stringify({ status: "ok" }));
      return;
    });
    return;
  }
  if (req.url === "/favicon.ico") return faviconListener(req, res);
  return notFoundListener(req, res);
});
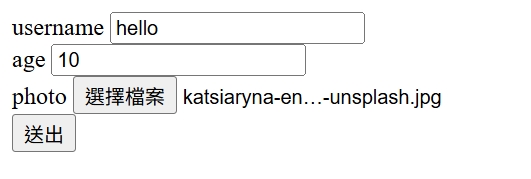
我們在瀏覽器輸入 http://localhost:5000/ ,就可以看到陽春的表單了
我們試著送出表單,並且打開 F12 > Network > Payload > view source,應該會看到這個很長的字串
------WebKitFormBoundary1IeWmkPYqF1sNCBz
Content-Disposition: form-data; name="username"

123
------WebKitFormBoundary1IeWmkPYqF1sNCBz
Content-Disposition: form-data; name="age"

123
------WebKitFormBoundary1IeWmkPYqF1sNCBz
Content-Disposition: form-data; name="photo"; filename="image.jpg"
Content-Type: image/jpeg


------WebKitFormBoundary1IeWmkPYqF1sNCBz--
這就是 multipart/formdata 的 Request Payload,格式可以分為以下
boundary
Content-Disposition: form-data; name="${name}"; filename="${filename}"
Content-Type: 合法的 MIME Type

內容...
要注意,username 跟 age 這兩個欄位,因為是純文本,所以不需要指定 Content-Type,預設就是 text/plain
但如果是上傳檔案,即便是 .txt 文件,也需要明確指定 Content-Type: text/plain,這樣才能讓 Server 端知道要怎麼去解析這個檔案。我們可以試著上傳 .txt,Request Payload 應該會變成這樣:
------WebKitFormBoundaryC8h6BB9h8kXL7CRQ
Content-Disposition: form-data; name="username"

hello
------WebKitFormBoundaryC8h6BB9h8kXL7CRQ
Content-Disposition: form-data; name="age"

10
------WebKitFormBoundaryC8h6BB9h8kXL7CRQ
Content-Disposition: form-data; name="photo"; filename="questions.txt"
Content-Type: text/plain


------WebKitFormBoundaryC8h6BB9h8kXL7CRQ--
關於 boundary 的規則,我們來看看 MDN 文件是怎麼說的
For multipart entities, the boundary parameter is required. It is used to demarcate the boundaries of the multiple parts of the message.
boundary 其實就是用一個很長的字串來當作分割符號,就像是 CSV 的資料格式,其實就是用 Comma(,) 來分割資料。當使用瀏覽器來傳送 multipart/formdata 的時候,瀏覽器會自動生成一個 ------WebKitFormBoundary${randomString}-- 的字串,不同的瀏覽器可能會有不同的實作方式。那 Server 端要怎麼知道這個分割符號呢?答案就是帶在 Request Header 的 Content-Type
Content-Type: multipart/form-data; boundary=----WebKitFormBoundaryC8h6BB9h8kXL7CRQ
由於 Header 會先傳送到 Server 端,之後才是 Body,所以 Server 端就可以根據這個 boundary 來處理每個 part 的資料。至於 Server 端具體來說要怎麼實現 multipart 的解析呢?其實這題蠻複雜的,畢竟檔案上傳有很多坑,光是要處理不同的檔案類型...。,這部分會建議使用現成的 Solution,可以參考 busboy,這是一個專門處理 form data 的 NodeJS 模組,有興趣的朋友可以研究看看。
Content-Disposition
再來我們來看第二個區塊 Content-Disposition,其實這是一個合法的 HTTP Response Header,用來告訴瀏覽器,請求的資源是要呈現在畫面上,還是要當成檔案下載。
另外,Content-Disposition 也可以當作 multipart/form-data body 的 Header,也就是我們上面看到的情況。
我們試試看利用 Content-Disposition 來達成下載檔案的功能,先從最簡單的 .txt 檔案下載
import httpServer from "../httpServer";

httpServer.on('request', function requestListener (req, res) {
  res.setHeader("Content-Disposition", "attachment; filename=hello world.txt");
  res.end("hello world");
});
瀏覽器輸入 http://localhost:5000/ ,就可以看到 hello world.txt 成功下載,並且內容是 hello world
接著嘗試看看圖片下載功能:
import httpServer from "../httpServer";
import { readFileSync } from "fs";
import { join } from "path";
const image = readFileSync(join(__dirname, 'image.jpg'));
httpServer.on('request', function requestListener (req, res) {
  res.setHeader("Content-Type", "image/jpeg");
  res.setHeader("Content-Disposition", "attachment; filename=image.jpg");
  res.end(image);
});
瀏覽器輸入 http://localhost:5000/ ,就可以成功看到圖片下載囉!
application/x-www-form-urlencoded
接著我們來實作看看 application/x-www-form-urlencoded,這個感覺在現代前端開發也比較少見了,但可以在一些古老的網站看到這種資料傳送的格式。我們創建一個 HTML FORM
<!DOCTYPE html>
<html>
  <head></head>
  <body>
    <main>
      <form name="updateUser" method="post" action="/updateUser" enctype="application/x-www-form-urlencoded">
        <div>
          <label for="username">username</label>
          <input id="username" name="username" />
        </div>
        <div>
          <label for="age">age</label>
          <input id="age" name="age" type="number" />
        </div>
        <div>
          <label for="url">url</label>
          <input id="url" name="url" type="url" />
        </div>
        <div>
          <input type="submit" value="送出" />
        </div>
      </form>
    </main>
  </body>
</html>
接著我們使用 NodeJS HTTP 模組來設置一個簡易的 HTTP Server 來處理頁面的渲染跟 API 路由
import { readFileSync } from "fs";
import { join } from "path";
import httpServer from "../httpServer";
import { faviconListener } from "../listeners/faviconListener";
import { notFoundListener } from "../listeners/notFoundlistener";

const indexHTML = readFileSync(join(__dirname, 'index.html'));

httpServer.on('request', function requestListener (req, res) {
  const method = String(req.method).toLowerCase();

  if (req.url === "/") {
    res.setHeader("Content-Type", "text/html; charset=utf-8");
    res.end(indexHTML);
    return;
  }
  if (req.url === "/updateUser" && method === "post") {
    const chunks: Buffer[] = [];
    req.on('data', (chunk) => (chunks.push(chunk)));
    req.once('end', () => {
      const buffer = Buffer.concat(chunks);
      res.setHeader("Content-Type", "text/plain");
      res.end(buffer);
      return;
    });
    return;
  }
  if (req.url === "/favicon.ico") return faviconListener(req, res);
  return notFoundListener(req, res);
});
瀏覽器輸入 http://localhost:5000/ ,並且填入對應的資料
username: 123
age: 123
url: https://translate.google.com.tw/?hl=zh-TW&sl=auto&tl=zh-TW&op=translate
送出以後,就會看到以下的字串
username=123&age=123&url=https%3A%2F%2Ftranslate.google.com.tw%2F%3Fhl%3Dzh-TW%26sl%3Dauto%26tl%3Dzh-TW%26op%3Dtranslate
url 後面的字串,就是 urlencoded 的結果,我們可以使用以下程式碼驗證
encodeURIComponent("https://translate.google.com.tw/?hl=zh-TW&sl=auto&tl=zh-TW&op=translate") === "https%3A%2F%2Ftranslate.google.com.tw%2F%3Fhl%3Dzh-TW%26sl%3Dauto%26tl%3Dzh-TW%26op%3Dtranslate" // true
要注意 application/x-www-form-urlencoded 是不能用來上傳檔案的,所以通常是用來處理簡單的情境,比如一般的文字表單
MIME sniffing
在特殊情況下,瀏覽器可能認定 Server 回傳的 Content-Type 是錯誤的,這個時候瀏覽器就會啟動 MIME sniffing 機制,嘗試猜測正確的 Content-Type
我們用 NodeJS 實作以下程式碼
import httpServer from "../httpServer";
import { faviconListener } from "../listeners/faviconListener";
import { readFileSync } from "fs";
import { join } from "path";

const image = readFileSync(join(__dirname, 'image.jpg'));
httpServer.on('request', function requestListener (req, res) {
  if (req.url === "/favicon.ico") return faviconListener(req, res);
  res.setHeader("Content-Type", "text/plain");
  res.end(image);
});
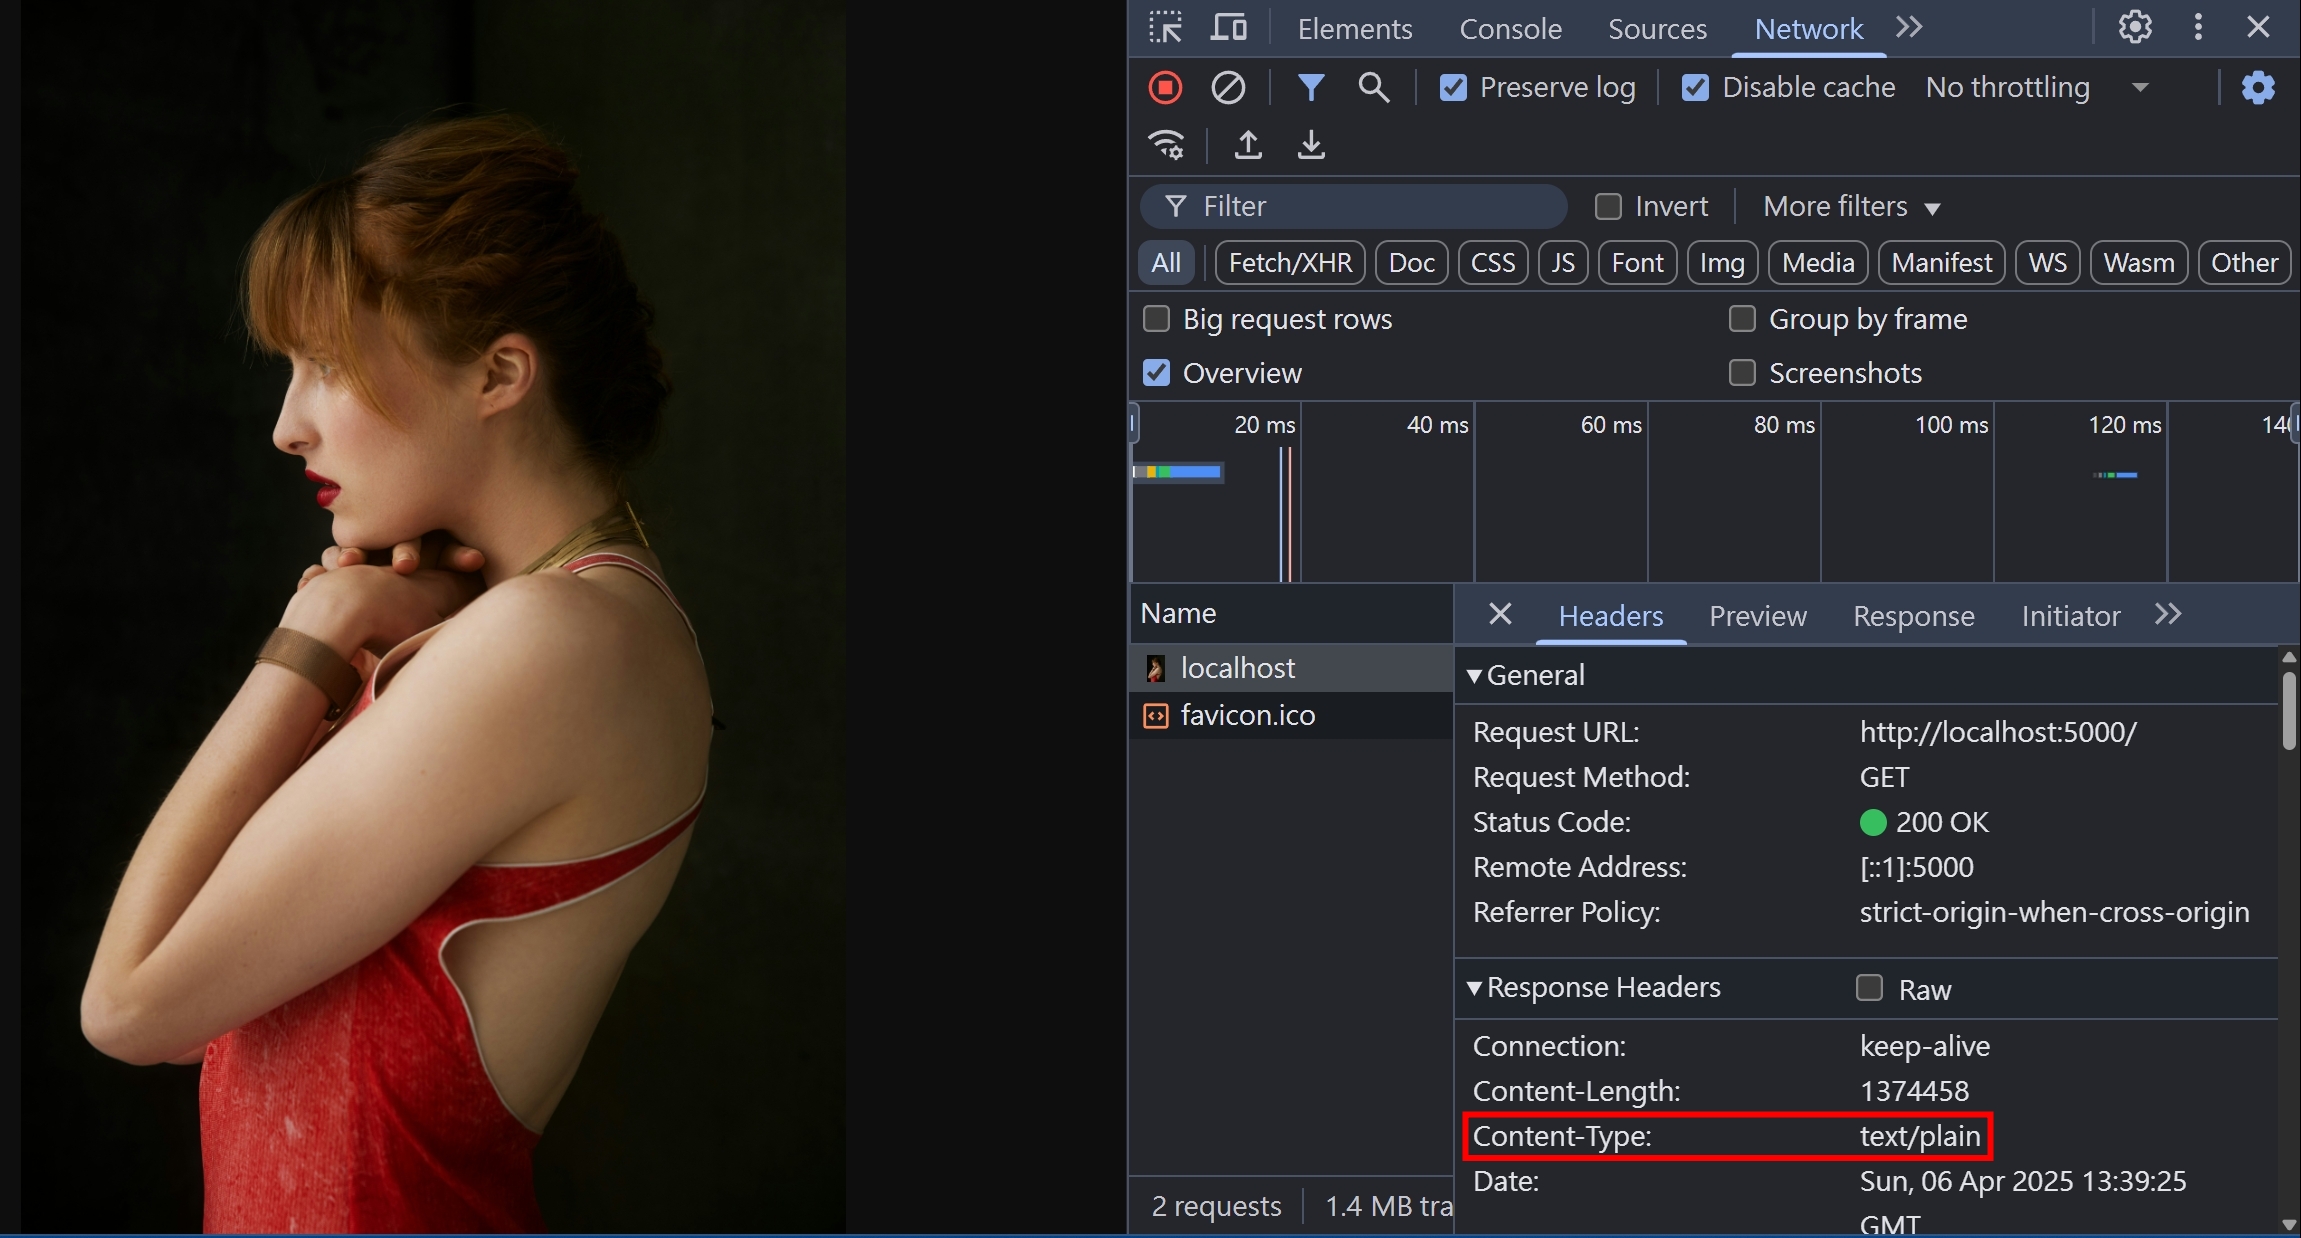
當我們用 chrome 瀏覽器打開 http://localhost:5000/ 時,可以看到瀏覽器將其解析成圖片了!
各間瀏覽器實作 MIME sniffing 的方式都不同,可能包含
- 讀取副檔名
- Magic numbers
Magic numbers
部分檔案的開頭前幾個 bits 會揭露其檔案類型,俗稱 Magic numbers;透過這個方式,我們就可以得知檔案的類型。
詳細的 Magic numbers 映射表,可以參考 Github這篇文章
我們嘗試用 NodeJS 讀取 jpg 檔案,看看 Magic numbers 是否為 ff d8 ff e0
import { readFileSync } from "fs";
import { join } from "path";

const image = readFileSync(join(__dirname, 'image.jpg'));
console.log(image.buffer.slice(0, 4));
運行結果為
ArrayBuffer { [Uint8Contents]: <ff d8 ff e0>, byteLength: 4 }
確實符合!這邊稍微複習一下計算機概論
- 1 bit = 計算機最基本的儲存單位 = 0 or 1
- 1 byte = 8 bits = 2 的 8 次方 = 可儲存最多 256 種排列組合
- HEX = 16 進位表達方式
- ff d8 ff e0 都是 1 個 byte 的排列組合,用 16 進位的表達方式
X-Content-Type-Options
上面有提到瀏覽器的 MIME sniffing 機制,但有些情況,我們希望把這個機制禁用,這時候就會需要在 Response Header 設定 X-Content-Type-Options: nosniff
我們利用剛才 MIME sniffing 的程式碼繼續擴充,針對圖片回傳錯誤的 Content-Type,讓瀏覽器的 MIME sniffing 機制啟用,並且再加上 X-Content-Type-Options: nosniff
import httpServer from "../httpServer";
import { faviconListener } from "../listeners/faviconListener";
import { readFileSync } from "fs";
import { join } from "path";

const image = readFileSync(join(__dirname, 'image.jpg'));
httpServer.on('request', function requestListener (req, res) {
  if (req.url === "/favicon.ico") return faviconListener(req, res);
  res.setHeader("Content-Type", "text/plain; charset=");
  res.setHeader("X-Content-Type-Options", "nosniff");
  res.end(image);
});
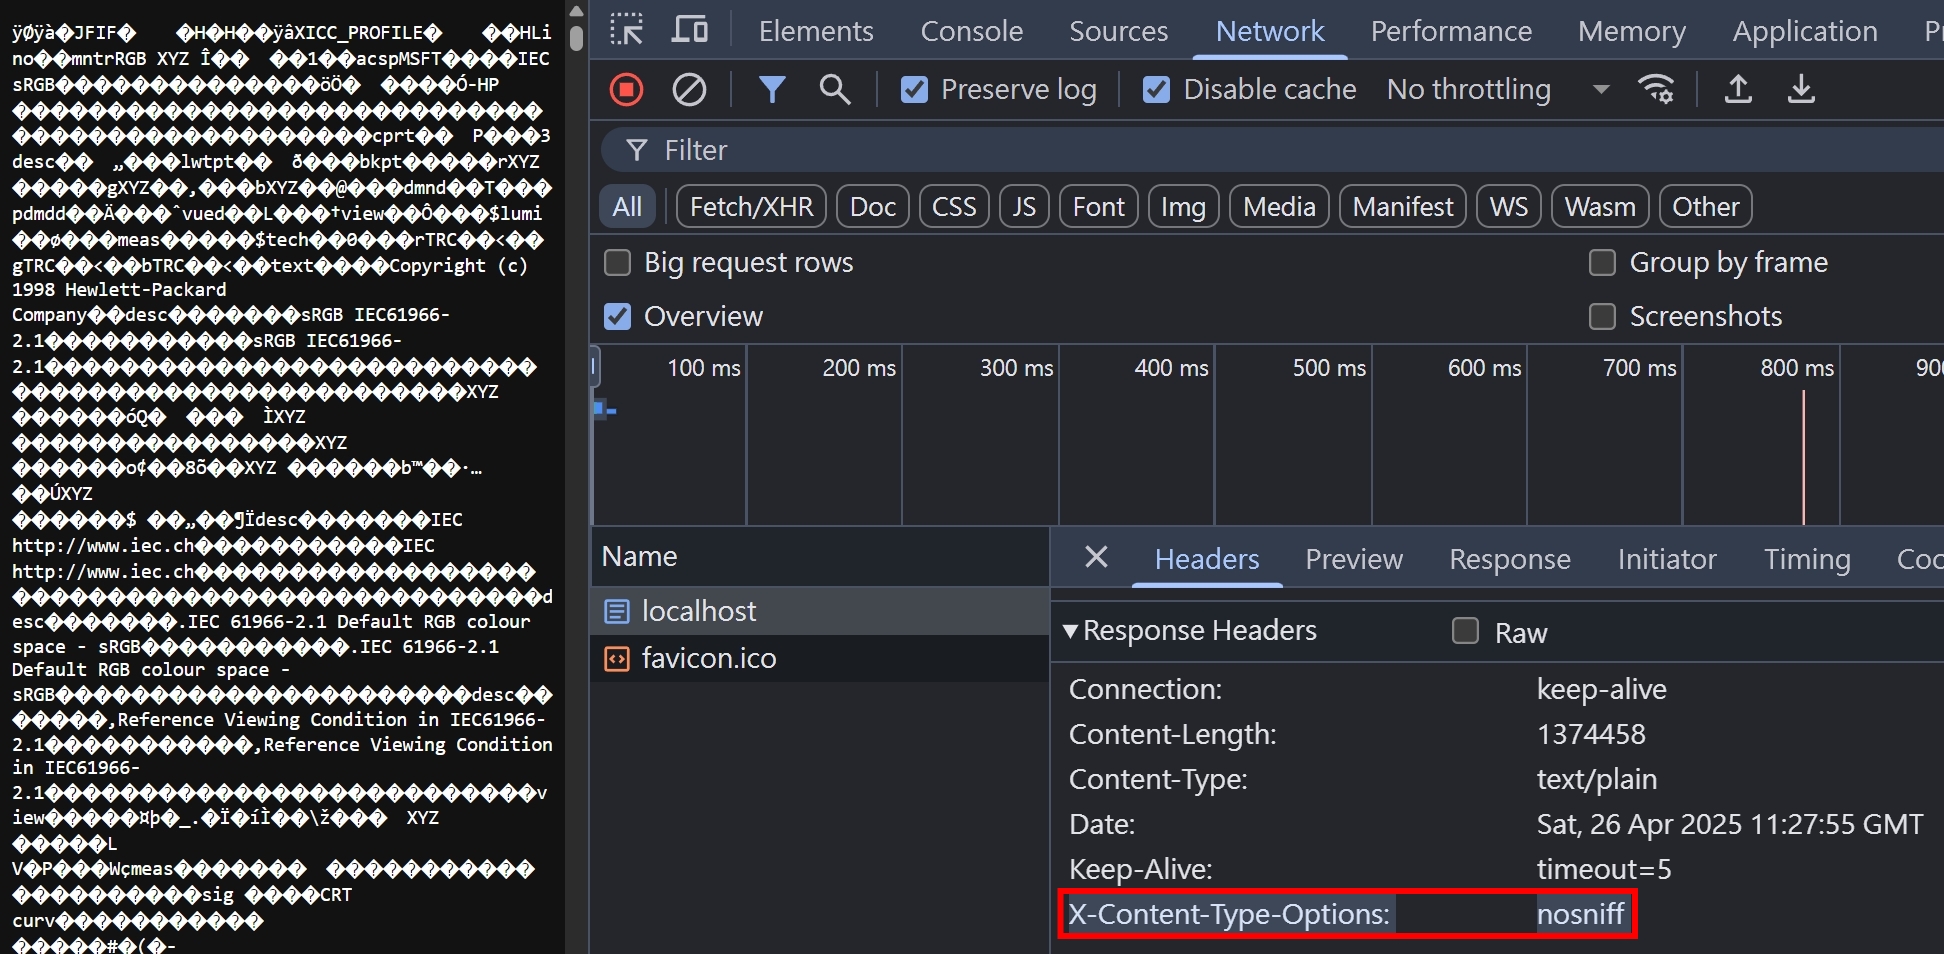
這時候用瀏覽器打開 http://localhost:5000/ ,就會看到 MIME sniffing 的機制被禁用,因此產生一堆亂碼了
亂碼是怎麼產生的
可參考這部影片,講解的非常清楚呦!
https://youtu.be/zSstXi-j7Qc?si=iHu3ebTiF9YtaZmD
參考資料
- https://developer.mozilla.org/en-US/docs/Web/HTTP/Headers/Content-Type
- https://developer.mozilla.org/en-US/docs/Web/HTTP/MIME_types
- https://developer.mozilla.org/en-US/docs/Web/HTTP/Guides/MIME_types/Common_types
- https://developer.mozilla.org/en-US/docs/Learn_web_development/Extensions/Server-side/Configuring_server_MIME_types
- https://developer.mozilla.org/en-US/docs/Web/HTTP/Reference/Headers/Content-Disposition
- https://gist.github.com/leommoore/f9e57ba2aa4bf197ebc5